
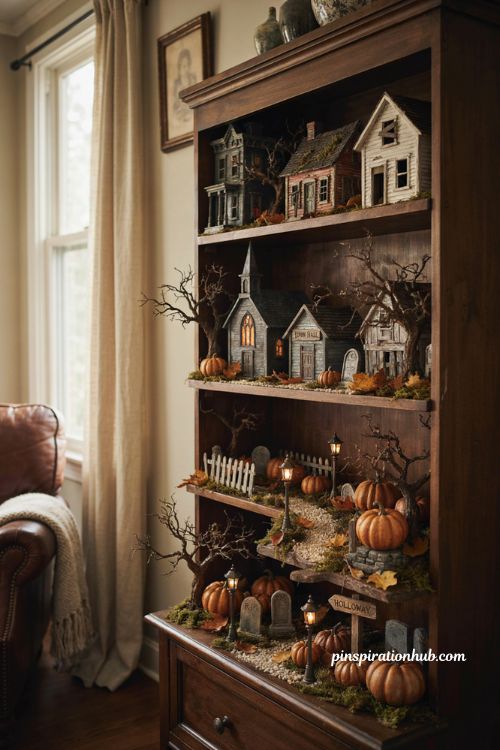
A great halloween village display comes down to one thing: making a shelf full of tiny houses feel like a real, living town instead of a random row of buildings. The difference between a village that looks impressive and one that looks like a store display usually isn’t the number of pieces you own — it’s how you layer height, texture, lighting, and little storytelling details around what you already have. Whether you’re working with a handful of Lemax houses on a bookshelf or building out a full multi-tiered landscape on a folding table, the same core ideas apply. Here are fifteen ways to take your halloween village display to the next level this season.
1. Build Multi-Tiered Foam Platforms

Placing every house on one flat surface hides your best pieces behind the ones in front, so building height is one of the biggest upgrades you can make. Pink or blue insulation foam boards from a hardware store are ideal for this — they’re lightweight, easy to stack, and simple to glue together with foam-safe adhesive to form cliffs, staircases, and raised hills. Once the shapes are stacked, carve in details like stone textures or retaining walls with a hot wire tool or utility knife. Finish with a black base coat and a light dry-brush of grey or green for a weathered, realistic stone look that gives every house its own visible spot.
2. Turn a Bookcase Into a Layered Village
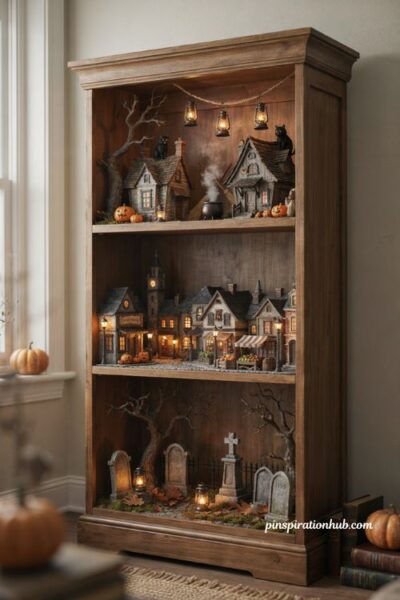
If building a full foam landscape feels like too much, a multi-shelf bookcase is a ready-made framework for creating distinct neighborhoods. Dedicate each shelf to a different zone of your town — a witchy coven up top, a bustling downtown square in the middle, and a quiet graveyard down below. This setup naturally creates the tiered, layered look of a bigger build without any construction at all, and it’s easy to rearrange or expand as your collection grows. It’s a great option for smaller spaces or for anyone just starting their village collection.
3. Create Mini Vignettes in Glass Jars or Terrariums

For smaller collections or single standout pieces, a large glass jar or geometric terrarium makes a striking self-contained scene. Layer in a bit of moss, tuck in one tiny figure or accessory, and add battery-operated micro fairy lights for a soft glow from within. Because the display is contained, it’s an easy way to spotlight a favorite piece without needing an entire tabletop setup. These little jar scenes also work well scattered around a room — on a bookshelf, a bathroom counter, or a kitchen windowsill — for pockets of spooky charm throughout the house.
4. Style a Mantel Village Display
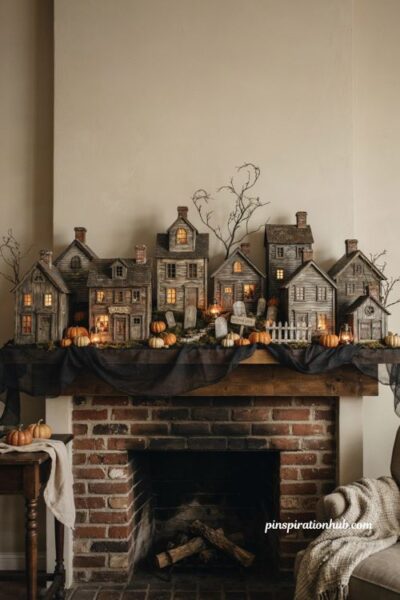
A fireplace mantel is a natural stage for a smaller, linear village display. Drape black cheesecloth along the edge to soften the mantel line and hide any raw edges, then scatter a few mini pumpkins among the houses for texture. Lining the buildings up in a row creates a striking silhouette against the wall once evening light or lamp glow kicks in. This is a great option if you don’t want your village taking over a full table but still want a strong visual moment in a main living space.
5. Layer Creepy Fabric for Ground Cover
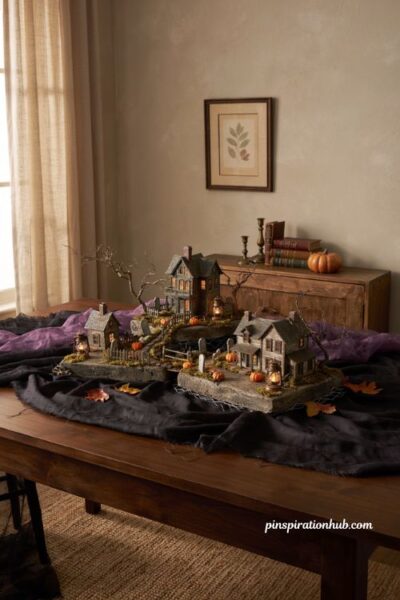
Black cheesecloth, torn “creepy cloth,” or purple gauze is one of the fastest ways to unify a display and disguise the raw edges of platforms or wire ports underneath. Drape it loosely rather than pulling it taut so it has some natural movement and texture. This fabric layer acts almost like a base coat for the rest of your landscape, giving you a cohesive foundation to build roads, foliage, and houses on top of. It’s an inexpensive fix that instantly makes a display look more finished and less like separate pieces placed side by side.
6. Add Spooky Foliage and Dead Trees
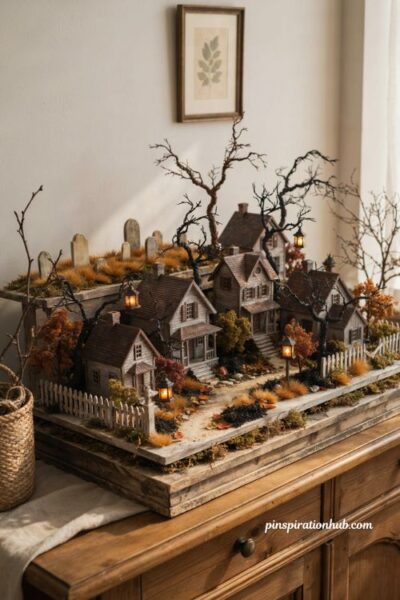
Scatter dried moss, faux grass in orange and black tones, or small fall-colored miniature trees throughout your landscape to tie the individual buildings into one cohesive world. For an extra creepy touch, twist floral wire wrapped in black floral tape into gnarled, leafless tree shapes and tuck them between houses or along a graveyard section. This kind of foliage does a lot of work visually — it fills empty gaps between structures and adds the organic, slightly overgrown feeling that makes a spooky town believable.
7. Build Roads and Cobblestone Paths
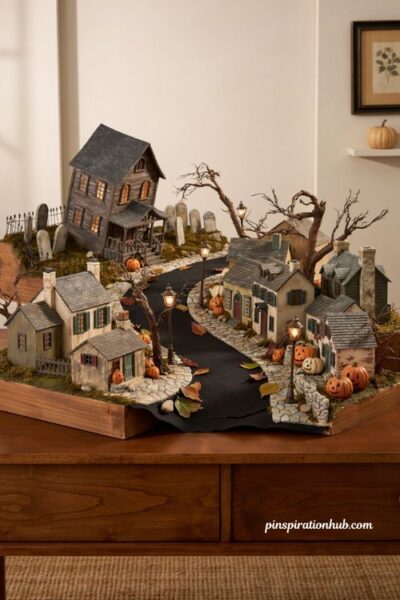
Roads are what turn a collection of separate houses into an actual neighborhood, guiding the eye naturally from one section of the display to the next. Strips of black felt or coarse sandpaper make convincing asphalt roads with very little effort, while textured scrapbooking paper or stamped patterns in thin air-dry clay can mimic cobblestone streets. Start with your main roads first, connecting the largest sections of your village, then branch off into smaller paths leading to individual houses or hidden corners of the display.
8. Hide Cords with a Raised Base
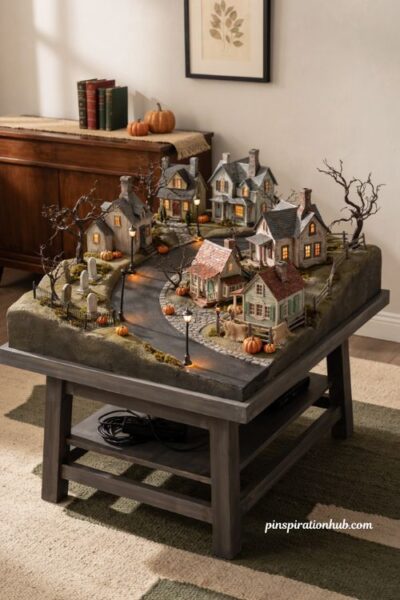
Building your display on a raised wooden frame — simple 1×2 boards for the top with 2×2 legs underneath — creates a hollow space perfect for tucking away power strips, extension cords, and plugs out of sight. Punch small holes through the foam board wherever a lit house or accessory needs power, then feed the cord down into the hidden space below. This single structural choice is what separates a genuinely polished display from one with wires crisscrossing visibly across the roads and landscape.
9. Add Backlighting for an Eerie Glow
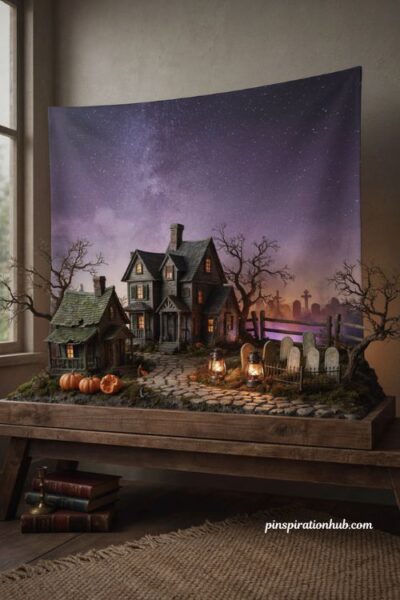
Once the room lights go down, backlighting completely transforms a village display. Hang a sheet of starry-night or foggy graveyard scrapbooking paper behind your setup, then run a strip of purple or orange LED lights along the back edge of the platform to cast light upward against the backdrop. This creates depth and atmosphere that flat, front-facing lighting simply can’t match, and it’s a relatively quick add-on to an existing display rather than a full rebuild.
10. Create Low-Lying Fog Effects
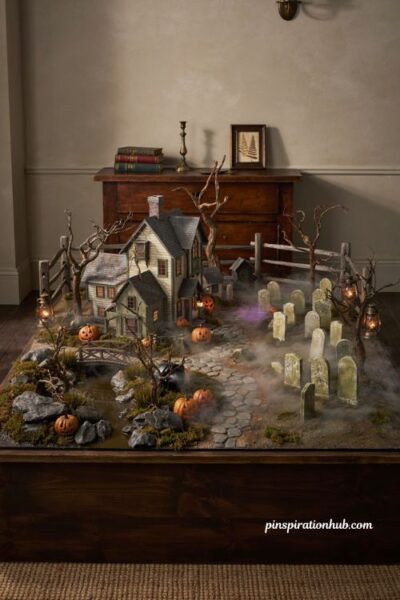
For a genuinely dramatic finishing touch, a small ultrasonic mist maker or compact fog device tucked behind a swamp or cemetery section can create real, low-lying fog that creeps slowly across the display. It’s best hidden behind a rock formation or piece of landscaping so only the fog itself is visible, not the device producing it. This kind of effect tends to be the detail people remember most, since moving fog adds a sense of life and motion that static houses and figures can’t provide on their own.
11. Mix Ground Cover Textures for Realism
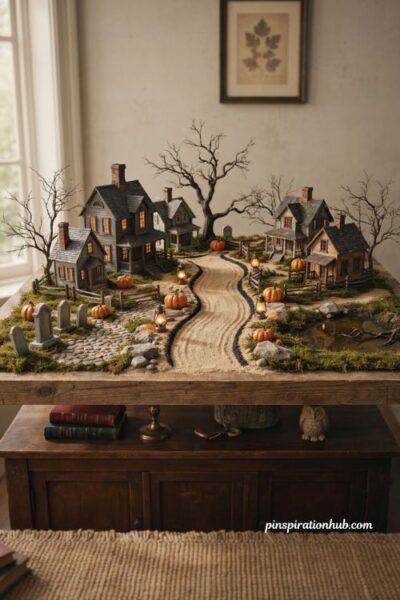
Relying on just one material for your entire landscape — all moss, or all sand — tends to look flat no matter how well it’s applied. Combining sheet moss, felt, fine sand, and stone dust across different sections gives the ground a more natural, varied feel, much like a real landscape has grass, dirt patches, and gravel in different spots. A layer of fine aquarium sand spread over wood glue is a simple way to add overall texture before layering moss or rocks on top in specific areas.
12. Group Houses into Themed Neighborhoods
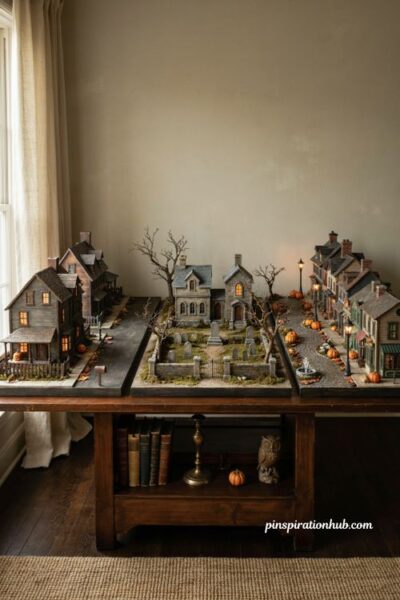
Rather than scattering pieces randomly across the display, treat each raised section or cluster of houses as its own little property or neighborhood. This gives you a natural framework for deciding where roads, fences, and landscaping should go, and it helps the whole village feel more like a real, connected town rather than a random assortment of buildings. There’s no correct number of houses to include — work with what you already own, and leave enough open space around each one for roads and small details to breathe.
13. Connect the Village with Fences and Walls
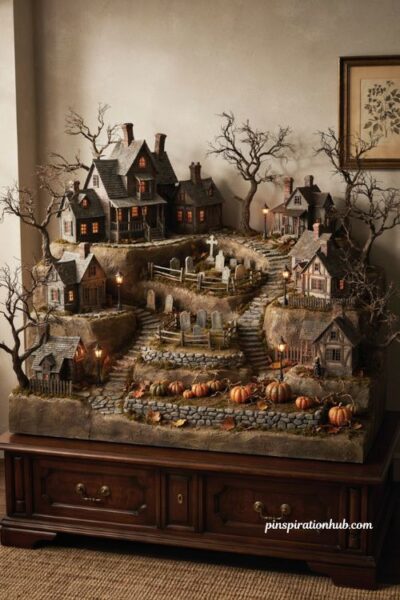
Small retaining walls, fencing, and stone borders do more than look decorative — they visually stitch one section of your village into the next and help disguise any rough transitions between foam levels. Use them to soften edges where one platform height meets another, or to mark the boundary of a cemetery or pumpkin patch within the larger display. This step is what makes a multi-level build feel intentional rather than like separate pieces simply sitting next to each other.
14. Build Small Story Scenes Throughout the Village
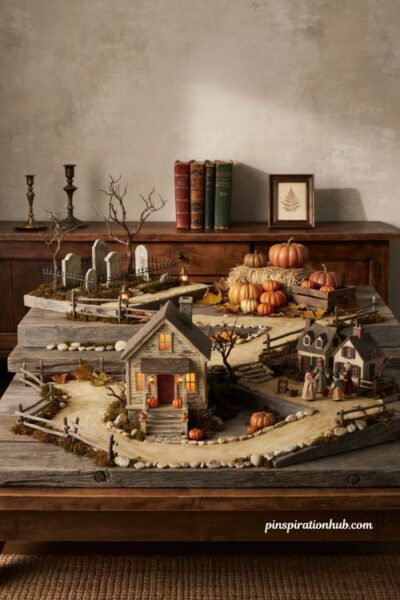
Instead of scattering pumpkins, gravestones, and figures evenly across the whole display, group them into small, self-contained scenes — a cemetery corner, a pumpkin patch, a spooky porch gathering, or a cluster of trick-or-treaters. Spreading a few of these little vignettes throughout the village gives viewers something new to notice in each section, rather than one uniform look across the whole table. This storytelling approach is often what elevates a display from “nice houses” to a village people actually want to look closely at.
15. Choose the Right Display Location for Your Space
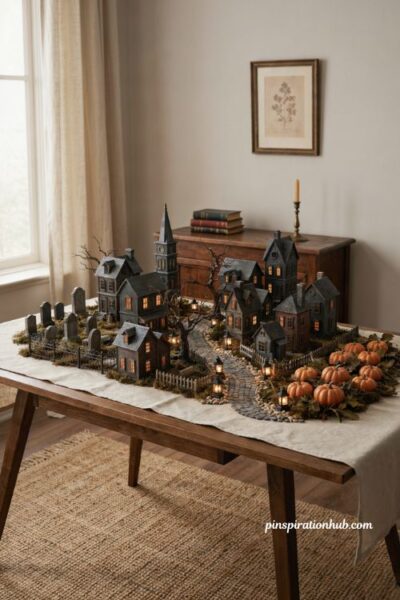
Where you set up your halloween village display changes how you should build it. A folding table gives you the most room for a large, layered landscape, while a console table or buffet works well for a mid-size display against a wall. A mantel suits a smaller, more linear village, and a bookcase lets you create separate scenes on each shelf. If your display will be seen from all sides, build your tallest section toward the center rather than the back, so nothing important gets hidden from any angle.
Final Thoughts
A memorable halloween village display isn’t really about how much you spend or how many houses you own — it’s about layering height, texture, and small storytelling details until the whole thing feels like one connected town instead of a row of separate pieces. Start with the basics, like raising your base and adding a bit of height variation, then build outward with roads, foliage, and lighting as you go. Even a simple bookshelf village with a few well-placed vignettes can feel genuinely magical once the lights go down. Take it one shelf, one platform, or one tiny scene at a time, and let the village grow with you each season.
Frequently Asked Questions
Q: What can I use for halloween village ground cover? Sheet moss, felt, sand, stone dust, gravel, and small rocks all work well, and mixing a few different textures together tends to look more natural than relying on just one material.
Q: How do you hide cords in a halloween village display? Building a raised base with a hollow space underneath lets you feed cords down through small holes in the platform, keeping power strips and wiring completely out of sight.
Q: Where is the best place to set up a halloween village display? It depends on your space and collection size — a folding table suits a large layered build, while a mantel, bookcase, or console table works well for smaller or medium-sized displays.