
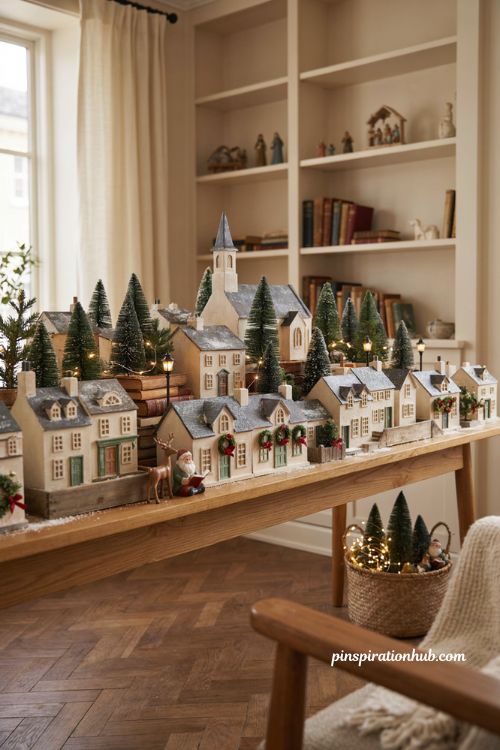
There’s something about a stack of miniature houses sitting in storage boxes that just feels wrong. You bought them because you loved them, and now they’re waiting for a table, a shelf, a plan — anything that turns a pile of buildings into a scene worth stopping for. The good news is you don’t need a professional background to pull it off. A little planning around height, lighting, and layout goes a long way, and once you see the pattern, it’s easy to repeat every year. Here are 15 christmas village display ideas to help you turn your collection into something that actually feels alive.
1. Build in Three Levels Instead of One
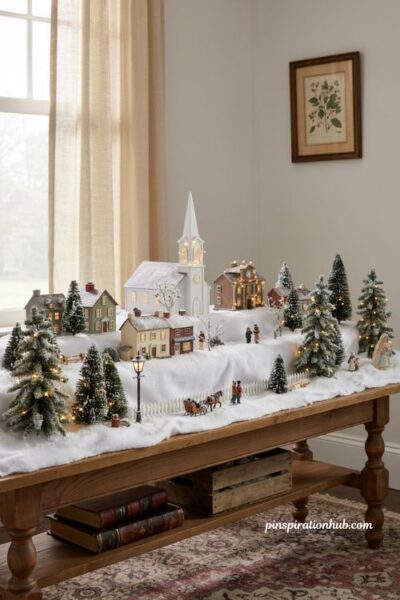
A flat table full of buildings reads as clutter, no matter how nice each piece is on its own. Elevate your tallest buildings, like churches or town halls, six to twelve inches using hidden risers, then step medium buildings down two to six inches, and let small accessories sit near the ground. Books, styrofoam blocks, or stacked boxes work fine underneath as long as you cover them completely with snow blanket or batting. The height change alone makes a collection of ten pieces look intentional instead of scattered across a surface.
2. Arrange Buildings in Triangle Clusters
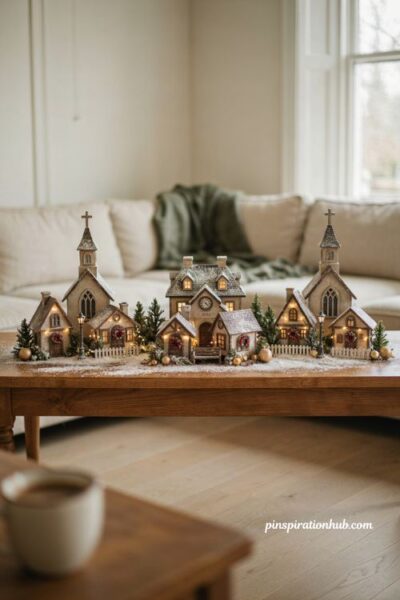
Instead of lining houses up in a row like dominoes, group them in threes — one tall piece at the back, two shorter ones flanking the front, and a small accessory filling the middle gap. This triangle shape feels more natural to the eye than a straight line ever will, and it repeats well, so you can build several triangle groupings across a longer display. Try it with a church at the rear and two shops angled slightly inward toward it, then fill the center with a lamppost or a bench.
3. Turn Your Mantel Into a Village Street
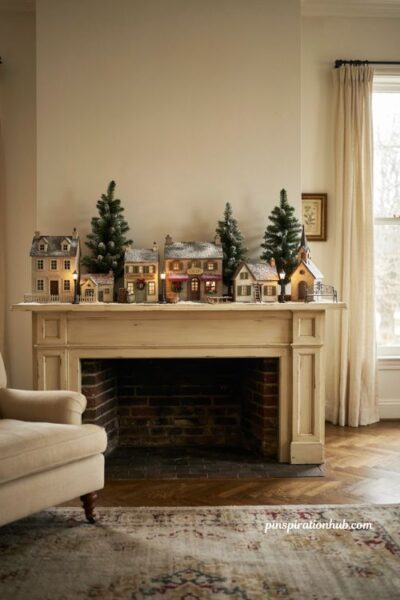
A fireplace mantel gives you a built-in stage, especially if it’s deep enough to hold small to medium buildings without crowding. Line a row of shops or cottages along the length, tuck string lights behind them for a soft glow, and let a few pieces overhang the edge slightly for depth. Because mantels are viewed mostly from below, keep taller accessories like trees toward the back so nothing blocks the buildings from the room.
4. Use a Ladder for a Vertical Village
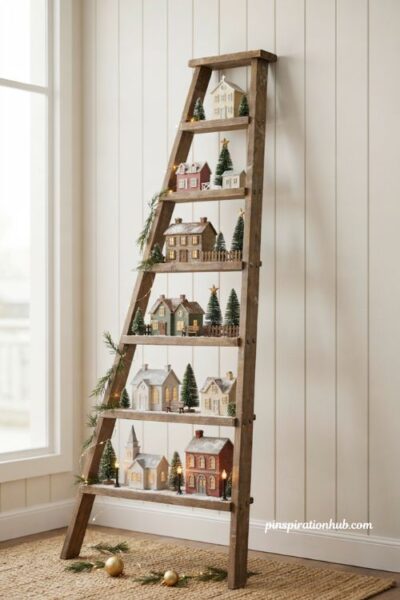
An old wooden ladder leaned against a wall turns into a multi-tier display without needing any extra shelving. Each rung becomes its own level — smaller houses toward the top, larger ones near the bottom for visual balance — and you can drape a bit of garland or lights along the sides to tie it together. It’s a great option if floor space is tight but you still want your collection out where people can actually see it.
5. Set the Village Under the Christmas Tree

The space around the base of a Christmas tree is often wasted or covered by a plain skirt, but it makes a natural home for a village. Buildings pool loosely at the base, snow blanket disguises the tree stand, and the lower branches act as a built-in canopy of pine over the whole scene. Keep the layout slightly irregular here rather than symmetrical — it should feel like the village grew up around the tree, not like it was measured out with a ruler.
6. Create a Victorian Dickens-Style Scene
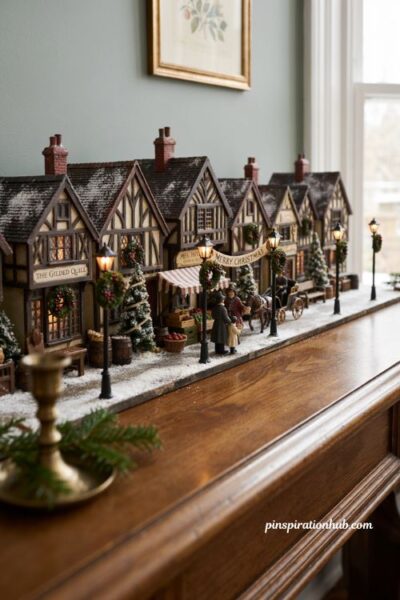
Lean into a Charles Dickens A Christmas Carol mood with Tudor-style buildings, gas lamp posts, and figurines dressed in period clothing. Add a few horse-and-carriage pieces and a market stall or two to give the street some narrative texture, then keep the color palette muted — deep greens, browns, and soft gold lighting — so it feels old-world rather than modern. Collectors who build this theme year after year often say it never really feels finished, which is part of the charm.
7. Add a Working Train Around the Perimeter
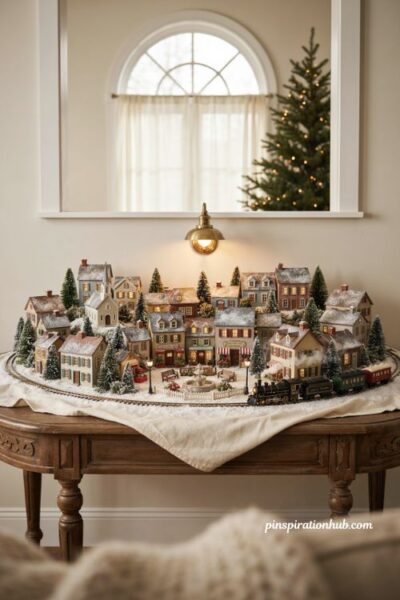
A model train circling the outer edge of your display adds motion, which static buildings alone can’t give you. Run the track behind the front row of houses so it reads as a background detail rather than the main event, and use it to define the boundary of your village without needing a literal fence. Even a simple oval loop makes the whole display feel like it’s mid-scene instead of frozen in place.
8. Go Small and Focused on a Nightstand or Side Table
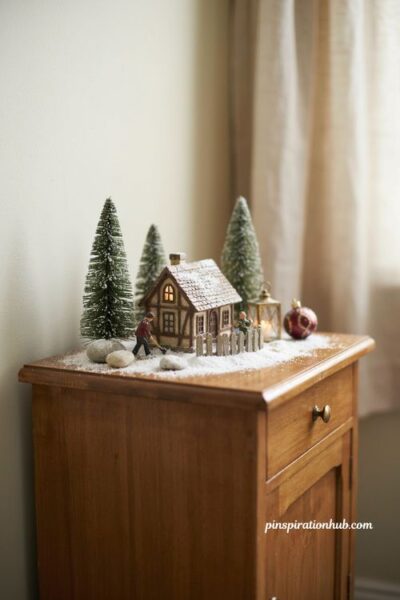
You don’t need a sprawling setup to get the same charming effect — a nightstand or narrow side table can hold three or four well-chosen pieces beautifully. Pick one focal building, add a tree or two in varying sizes, and a single figurine doing something specific, like shoveling snow. Small displays like this actually benefit from restraint; one thoughtful scene beats five buildings crammed together with no breathing room.
9. Build a North Pole Workshop Theme
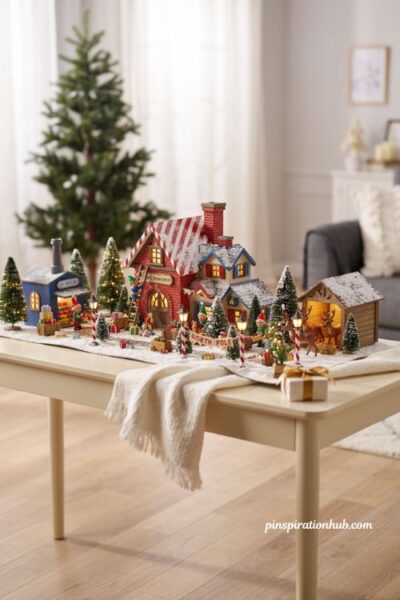
Center the whole display around Santa’s operation — a main workshop building, a toy factory, elf housing, and a reindeer stable arranged around it. Whimsical colors work here in a way they wouldn’t in a traditional village, so don’t be afraid of bright reds, blues, and candy-cane striping on accessories. Kids especially respond to this theme, so if the display is at kid height, this is often the one that gets the most attention in the room.
10. Use a Bay Window Ledge for Natural Framing
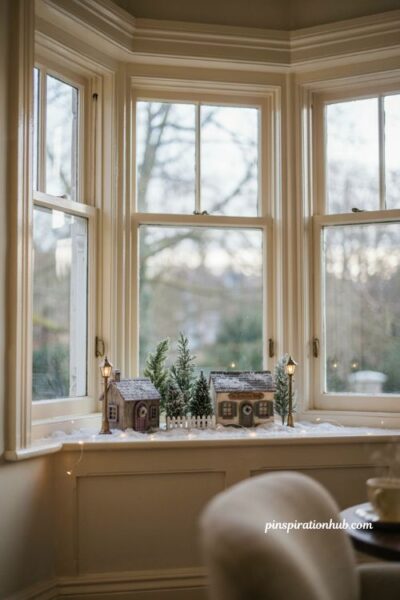
A bay window gives your village daylight and an audience from both inside and outside the house, which most display spots can’t offer. Keep pieces lower profile here since the window itself becomes part of the backdrop, and avoid direct sun exposure on the buildings for long stretches, since it can fade the paint over time. A single strand of warm white lights along the ledge edge is usually all the extra lighting this spot needs.
11. Design a Ski Village With Real Elevation
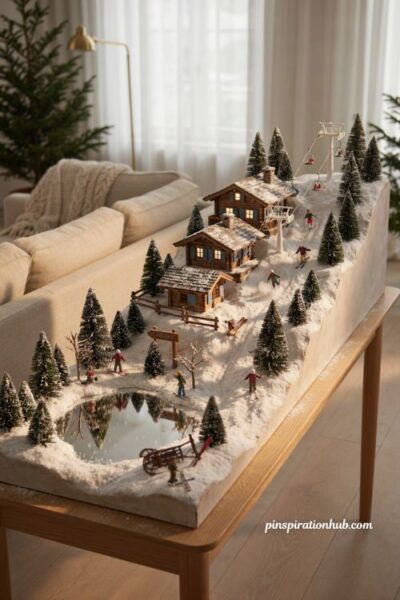
If you have alpine lodges, ski lifts, or winter sports figurines in your collection, lean into actual elevation change to sell the mountain feel. Stack risers higher toward one side of the display to suggest a slope, add a mirror or glass sheet at the base for a frozen pond, and scatter tiny skiers along the incline. This theme rewards height variation more than almost any other, since the terrain itself is supposed to be uneven.
12. Try a Monochrome Scandinavian Palette
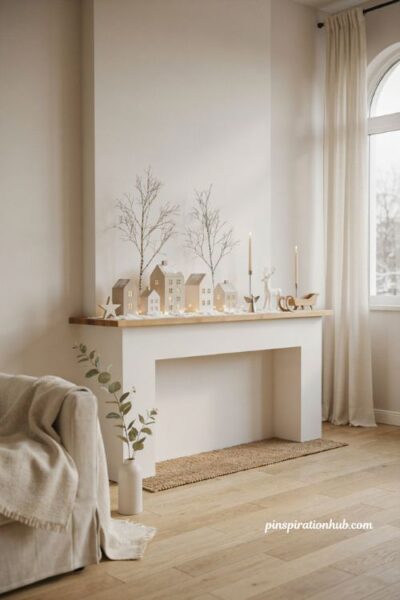
Limiting your color scheme to white, natural wood, and metallic accents gives a display a clean, modern feel that stands apart from the usual reds and greens. This works especially well on a mantel or small shelf, where a tighter palette reads as curated rather than sparse. Choose buildings and figurines with simple silhouettes over ornate ones, since the whole point of this look is restraint.
13. Spread the Village Across Multiple Rooms
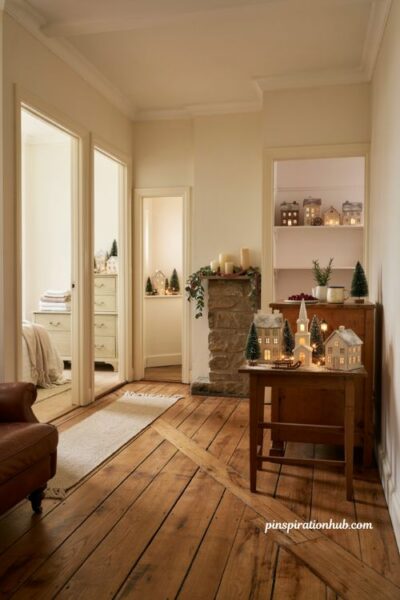
Instead of one central display, some collectors break their village up by scale — larger pieces in the main living space, mid-size houses on kitchen cabinets, and tiny ones on a bedroom dresser or bathroom shelf. This turns the whole home into a kind of scavenger hunt for holiday details, and it’s a smart option if your collection has outgrown any single table. Just keep each grouping internally consistent in scale so nothing looks mismatched within its own spot.
14. Add a Glass Vessel or Snow Globe Effect
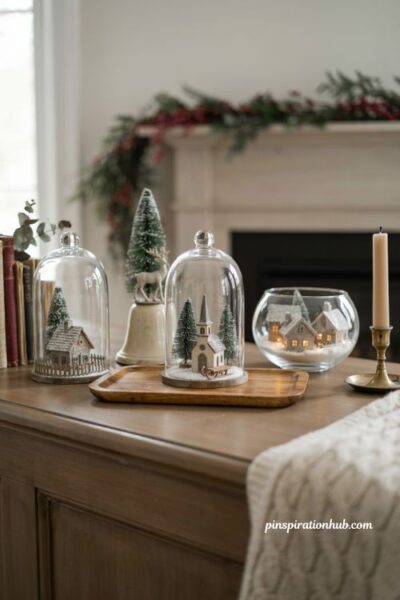
If some of your pieces are especially small or delicate, place them inside clear glass containers, cloches, or bowls instead of leaving them exposed on an open surface. It protects the piece, adds a bit of sparkle under light, and gives the display a snow-globe quality that larger open villages can’t replicate. This works particularly well for handmade or vintage pieces you want to showcase without risking damage from little hands or curious pets.
15. Recreate a Bustling City Street
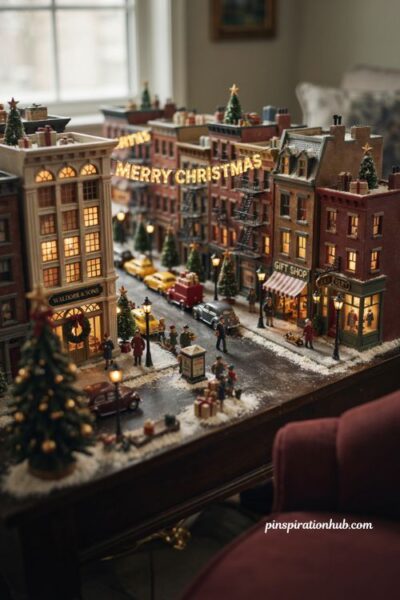
For a more urban take, use multi-story buildings, department stores, and figurines dressed for a busy downtown to build a Christmas in the City scene. Add tiny taxis, delivery trucks, and clusters of shoppers moving between storefronts to give the street a sense of motion even though nothing is actually moving. Keep buildings close together here, since real city blocks don’t have much breathing room between them either, and that tight spacing is part of what sells the effect.
Final Thoughts
At the end of the day, a Christmas village isn’t about how many buildings you own — it’s about whether the display makes someone stop and actually look. Start with one theme, one platform, and a handful of pieces you genuinely love, then let it grow a little every year. Take photos before you pack everything away so next season’s setup takes minutes instead of hours. Whichever of these ideas you try first, the goal is the same: a scene that feels like it has its own quiet little story running through it.
Frequently Asked Questions
Q: How much space do I need for a Christmas village display? A small display can work in as little as 24 inches of width, though 18–24 inches of depth is ideal for creating real layers and levels.
Q: What’s the best base material for snow in a Christmas village? Cotton batting is the most popular choice for a soft, moldable look, while purpose-made village snow blanket gives a more finished, sparkly finish.
Q: How do I stop my Christmas village from looking cluttered? Stick to a single theme, use height variation with risers, and remember that a well-arranged five-building display beats a crowded fifteen-building one every time.