
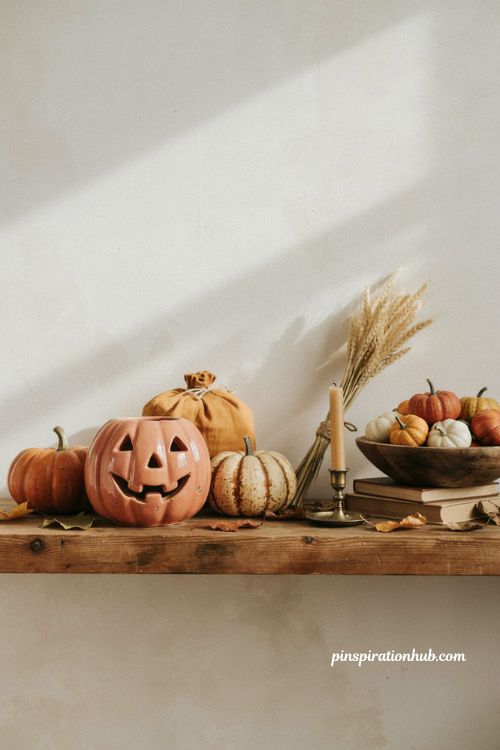
It’s funny how a plastic pumpkin bucket and a real 1970s ceramic jack-o’-lantern can share almost the exact same silhouette, yet one looks like a dollar-store toy and the other looks like a treasured heirloom. The difference isn’t the shape — it’s the texture, the slightly muted color, and the handmade imperfection that only comes with age or a little craft effort. Whether you’re hunting down actual vintage pieces or making your own from supplies already in your kitchen drawer, there’s a whole world of pumpkin decor that skips the mass-produced look entirely. These fifteen ideas cover both routes, so you can build a shelf of nostalgic pumpkins no matter your budget.
1. Paper Mache a Plastic Pumpkin Into a Vintage Face
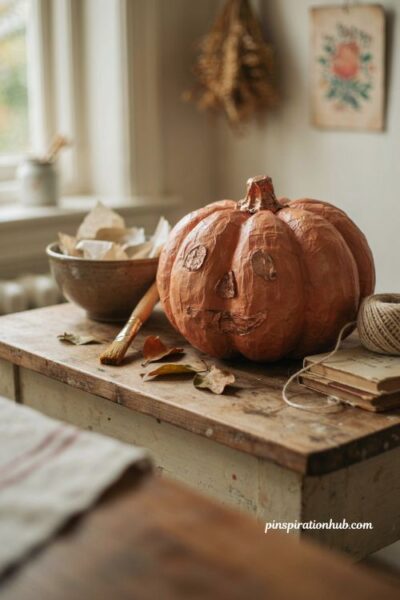
An inexpensive plastic trick-or-treat pumpkin is the perfect blank canvas for this project. Roll small pieces of aluminum foil and tape them around where the eyes, nose, and mouth will go to build up dimension, then cover the whole thing in glue-dipped paper towel strips, pressing into every dip and curve. Leaving a few wrinkles in the paper towel on purpose actually helps — that slightly uneven texture is exactly what gives old paper-mache pumpkins their aged, weathered look once painted. Let it dry fully before moving on to color, since painting over damp paper mache will smear the base layer.
2. Paint a Muted, Old-Fashioned Face
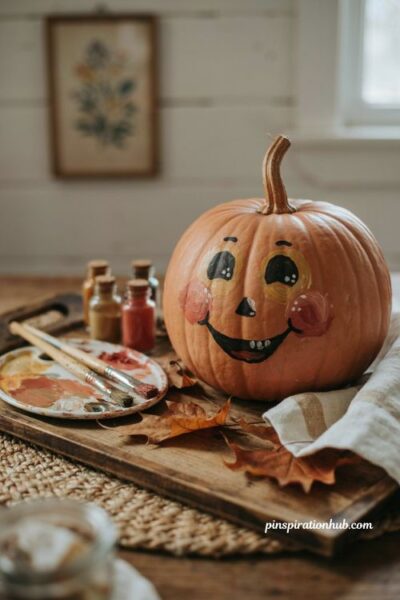
Skip the bright, cartoonish orange and reach for a dustier, more muted shade as your base coat instead — that single choice does more for the vintage look than anything else in the project. Layer in yellow around the eyes for a soft glow, a touch of red and white blended for rosy cheeks, and black outlining for the mouth and eye shapes. White highlights dotted into the eyes and teeth add just enough sparkle to feel hand-painted rather than airbrushed. Reference genuine vintage pumpkin faces before you start — the smiling, slightly goofy expressions from decades past read as warm and whimsical, not spooky or horror-themed.
3. Try CelluClay for a Sturdier Texture
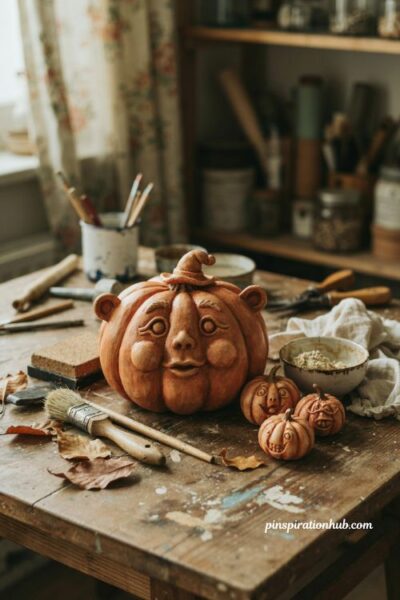
If paper towels felel too deicate for your project, a recycled paper pulp material mixed with water gives you a stronger, more sculptable surface to work with. Cover a plastic pumpkin pail in the mixture, adding any three-dimensional extras like ears, a little hat, or exaggerated eyebrows while it’s still workable, then let it set completely before sanding the surface smooth. This material holds detail better than paper mache alone, which makes it a good choice if you want pronounced features rather than a flatter, more subtle face. Keep these pieces for indoor display only, since the paper-based material won’t hold up to weather.
4. Shop Ceramic Jack-o’-Lanterns From Decades Past
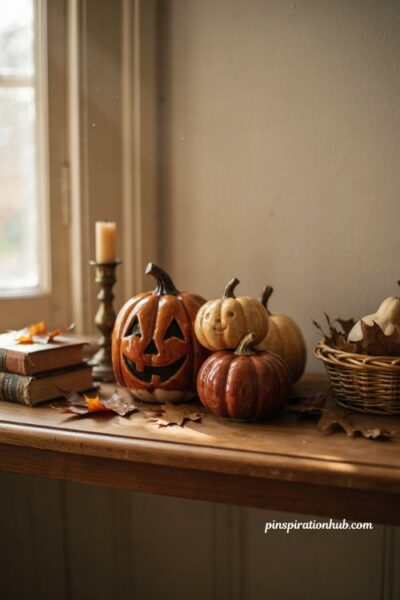
Genuine ceramic pumpkins from the 1970s and 80s show up regularly at estate sales, thrift stores, and online marketplaces, often glazed in that classic warm orange with a painted-on stem and a soft, hand-finished shine. Look for pieces with a maker’s mark or a mold number on the base, since those tend to be easier to date and often hold their value better. A small cluster of three or four different ceramic pumpkins, mismatched in size and glaze tone, reads far more collected than one single piece sitting alone on a shelf. Check for hairline cracks before buying, since ceramic from that era can be surprisingly fragile.
5. Look for Honeycomb Tissue Pumpkins With Original Price Tags
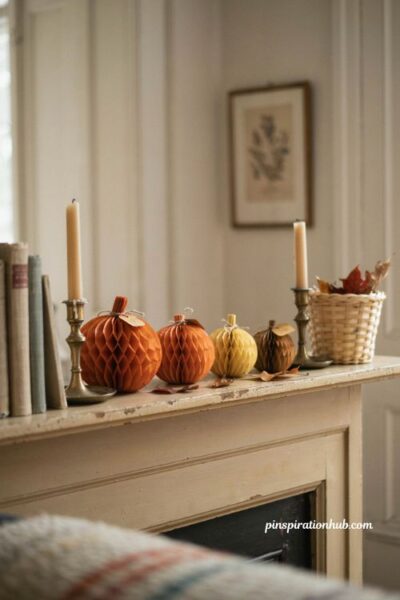
Old honeycomb tissue paper pumpkins — the kind that fold flat and pop open into a rounded shape — are some of the most charming, lightweight vintage finds out there. Pieces that still carry their original cardboard price tag from decades ago are especially fun conversation starters, since the printed cents amount instantly tells your guests how old the piece really is. Because they’re paper, keep them away from damp porches or humid storage, and display them somewhere they won’t get crushed between seasons. A row of a few different honeycomb sizes along a mantel gives you height variation without much bulk or weight.
6. Layer in Vintage-Style Paper Die-Cuts
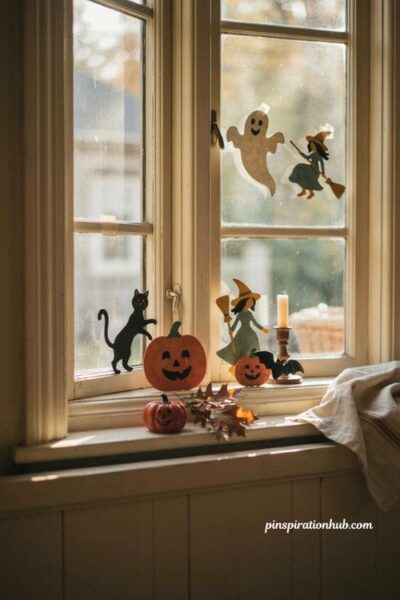
Reproduction die-cut pumpkins, witches, and cats — printed on sturdy cardstock in that classic flat, illustrated style — are an easy and affordable way to bring vintage graphics into your decor without hunting down fragile originals. Prop a few standing die-cuts along a windowsill or tape them to a window facing the street for a look straight out of a mid-century Halloween party. Mixing a couple of different sizes and characters together, rather than lining up identical cutouts, keeps the display from feeling too uniform. These pack completely flat for storage, which makes them one of the easiest pieces on this list to keep from year to year.
7. Add a Ceramic Pumpkin Candle Holder to a Tablescape
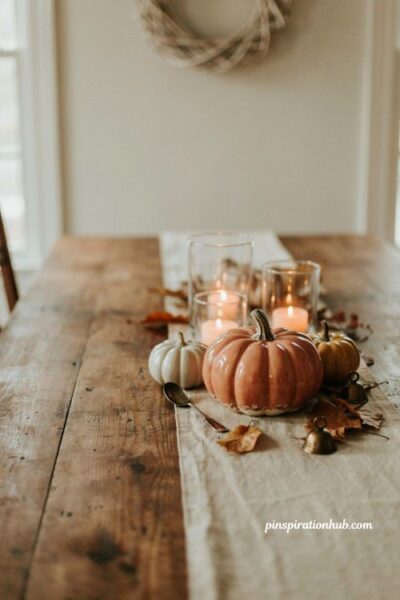
A votive-style ceramic pumpkin with a cutout for a tea light brings warm, flickering light into your vintage display once the sun goes down. Look for pieces with a painted stem and a slightly glossy, hand-glazed finish rather than a matte factory look, since that shine is often a good sign of genuine age. Grouped with a few plain glass votives at different heights, one pumpkin candle holder becomes the centerpiece of an entire tablescape rather than just a single accent. Always use a flameless tea light if the piece has any hairline cracks, since real flame can stress old ceramic further.
8. Hunt for Hand-Painted Rock or Wood Pumpkins
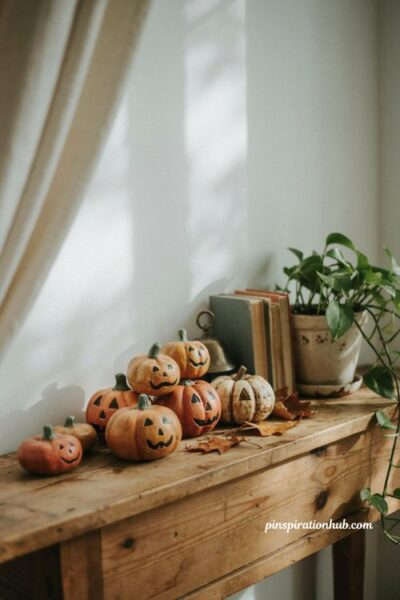
Small hand-painted pumpkins made from a smooth stone or a scrap of wood have a folk-art charm that mass-produced decor simply can’t replicate. Look for pieces with visible brushstrokes and a slightly uneven paint job — that imperfection is part of the appeal, not a flaw to avoid. These work beautifully tucked among houseplants, lined along a windowsill, or scattered across a console table between other vintage pieces. Because they’re solid and sturdy, they also make some of the most durable options here if you have curious pets or small kids around the display.
9. Style a Cluster of Different Materials Together
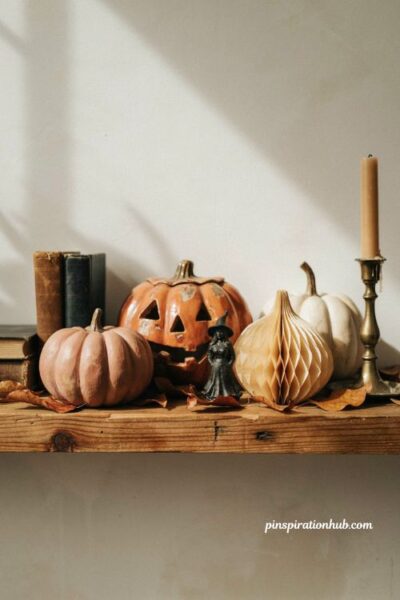
The most convincing vintage pumpkin displays rarely use just one material. Mix a ceramic piece, a paper honeycomb pumpkin, a hand-painted wooden one, and maybe a small resin figure together on the same shelf or mantel, and the variation in texture does more work than any single “perfect” piece could. Keep the color palette anchored in that classic black-and-orange combination, with maybe one cream or white pumpkin thrown in for contrast. Grouping in odd numbers — three or five pieces rather than an even, matched set — tends to look more intentional and less like a store display.
10. Look for Vintage Halloween Stickers and Ephemera
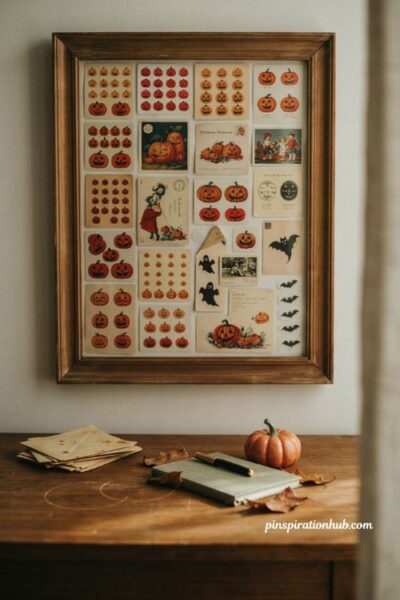
Original sticker sheets, postcards, and paper die-cuts from past decades often turn up in surprisingly good condition, since they were tucked away in drawers rather than displayed and worn down. These small paper pieces work well framed in a simple grid, tucked into a junk journal, or even used as gift tags on a fall gift. Look specifically for pumpkin and jack-o’-lantern imagery with that classic illustrated style — rounder, friendlier faces rather than sharp modern graphic design. Because paper is fragile, keep any pieces you want to preserve out of direct sunlight, which fades ink faster than almost anything else.
11. Choose Warm, Muted Tones Over Bright Orange
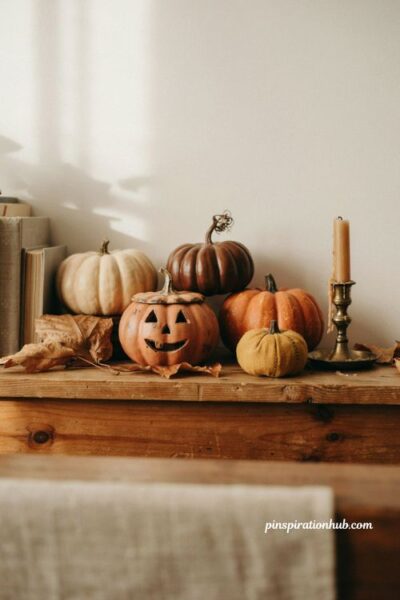
If there’s one styling rule that instantly ages a display, it’s color temperature. Genuine vintage pieces tend to lean toward a warmer, dustier orange rather than the bright, saturated tone modern plastic decor uses, often paired with mustard yellow, deep brown, or a soft cream. When you’re painting your own pumpkins or shopping for pieces, hold potential additions up next to each other before committing — a too-bright piece will stick out against a group of muted ones no matter how well it fits the shape or theme otherwise. This single color adjustment does more visual work than almost any other styling choice on this list.
12. Build a Small Vintage Pumpkin Collection Over Time
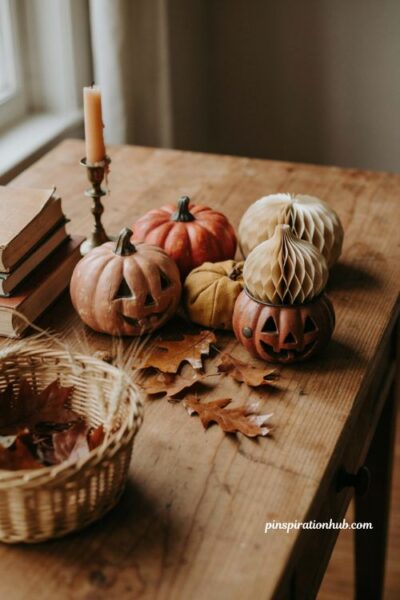
Rather than buying a full display in one shopping trip, treat this as a slow collection you add to each fall. Check thrift stores, flea markets, and online marketplaces regularly leading up to Halloween, since inventory turns over constantly and the best pieces tend to sell fast once the season starts. A collection built up over several years naturally develops the mismatched, personal feel that makes vintage decor so appealing in the first place, rather than looking like everything arrived in one box on the same day. Keep a small note on your phone of pieces you’re still hoping to find, so you recognize a good one when it turns up.
13. Give Modern Pumpkins a Vintage Glaze Effect
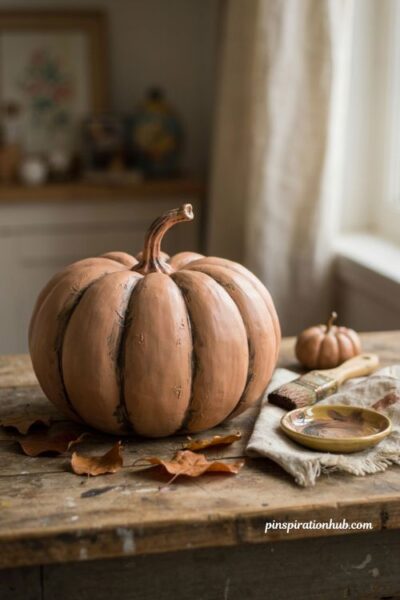
If you already own plain modern pumpkin decor, a simple aging technique can shift its whole look. A thin wash of brown or black paint, wiped back before it fully dries, settles into any grooves or texture and mimics decades of dust and handling. Test the technique on a small hidden spot first, since different finishes absorb the wash differently, and a heavier hand than intended is hard to undo. This trick works especially well on plain ceramic or resin pieces with raised detail, since the wash catches in the recessed areas and leaves the raised parts lighter, exactly the way real age does.
14. Display Pumpkins on Wheat, Straw, or Burlap
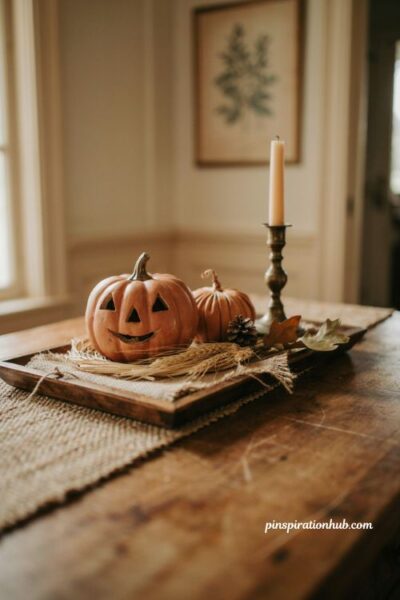
The base a pumpkin sits on matters almost as much as the pumpkin itself. A small bundle of dried wheat, a scrap of burlap, or a woven straw mat underneath a ceramic or paper pumpkin instantly grounds it in that classic harvest-season aesthetic rather than a generic Halloween one. This works especially well for entry tables or mantels, where the textured base fills visual space without competing with the pumpkin for attention. Tuck a few dried leaves or a small pinecone into the display for extra texture, keeping everything in the same warm, muted color family described earlier.
15. Keep the Whole Look Sweet Rather Than Spooky
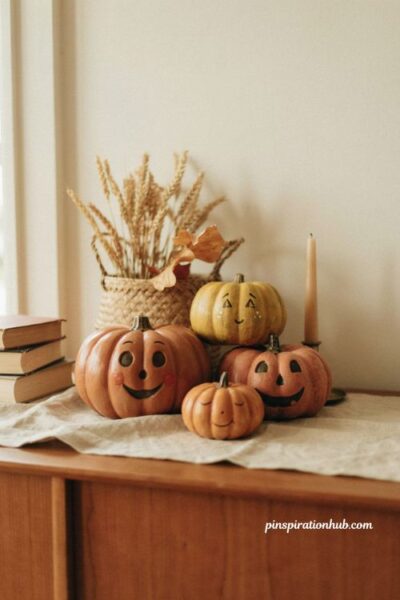
Vintage pumpkin decor, almost across the board, leans whimsical and warm rather than gory or horror-themed. Smiling faces, rounded shapes, and playful expressions are the hallmark of genuine mid-century Halloween style, and leaning into that mood keeps your display feeling authentic to the era it’s referencing. If you’re painting your own pieces, resist the urge to add anything too sharp or menacing — a slightly goofy grin will almost always look more convincingly vintage than a scary one. This tone is also what makes the style so approachable for a front porch or entryway that trick-or-treaters and neighbors will actually walk past.
Final Thoughts
Vintage pumpkin decor rewards patience more than perfection, whether you’re slowly building a shelf of thrifted finds or working through an afternoon of paper mache with a kid or grandkid at the table. Start with one or two pieces you genuinely love the look of, and let the rest of the collection grow naturally from there instead of trying to complete the whole display in a single weekend. The slightly imperfect, hand-touched quality that makes these pieces special is the same thing that makes them worth keeping year after year. What matters most is that the display feels like yours, not like it came off a shelf.
Frequently Asked Questions
Q: How do I make plastic Halloween pumpkins look vintage? Cover them in paper mache or a paper-pulp craft material, then paint with muted, dusty tones instead of bright orange for that authentic aged look.
Q: What makes vintage pumpkin decor look different from modern decor? Muted color tones, hand-painted imperfections, and warm, smiling expressions set vintage-style pumpkins apart from the bright, uniform look of most modern decor.
Q: Where can I find real vintage pumpkin decorations? Estate sales, thrift stores, flea markets, and online marketplaces are the most reliable places to find genuine ceramic, paper, and plastic pumpkin pieces from past decades.
1 thought on “15 Vintage Pumpkin Decor Ideas for a Nostalgic Fall”